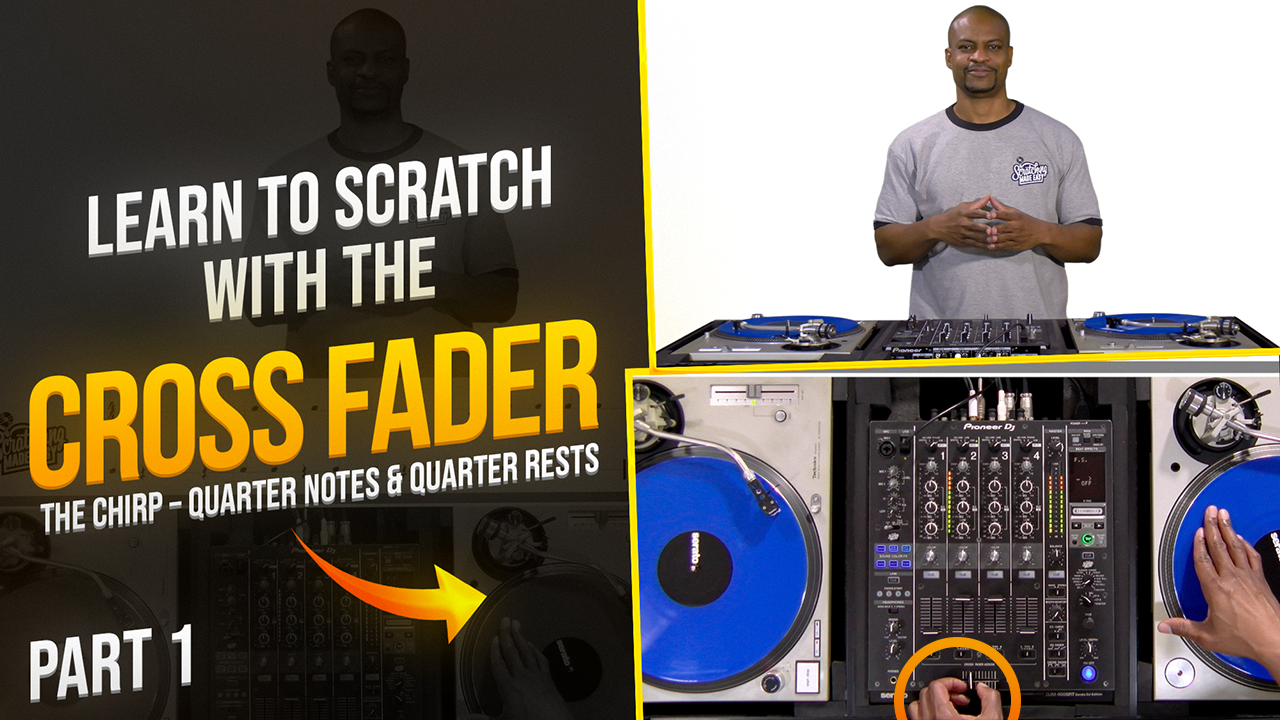
Hey what's up? This is Ronin from Scratching Made Easy. In this lesson we are going to learn about the Chirp. We are going to start off with quarter notes and quarter rests. If you haven't done so already, check out our Baby Scratch series which covers the basics of how to count music. That way you’ll be caught up with what we are about to cover. Let’s get started.
We're going to begin with the cross fader in the open position. We're going to push the record forward and close the fader after we hear the sound. From this position we are going to open the fader and pull the record backward, and then close the fader after hearing the sound. When these steps are completed consecutively, they are called chirps.
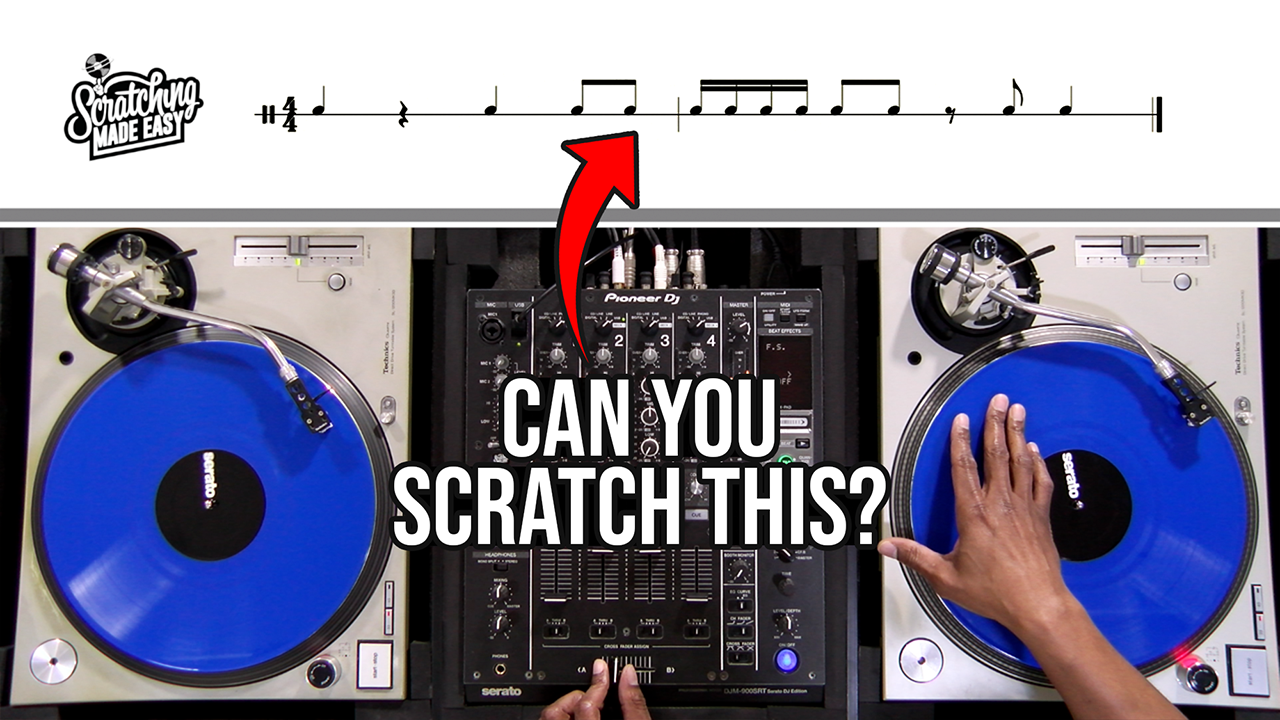
Rhythm 1
Let's play a couple of measures and apply what we just learned. Make sure that you are using the start of the sound. If you want to download our scratch tool, you can find a link to it and anything else mentioned in this video in the description below. I also want to let you know that I like to start with the cross fader closed when I play chirps. I like to open the fader as I move the record forward. It’s a matter of preference, so it’s up to you to figure how you want to start the attack. That being said...it’s time to dive in. The tempo is at 85 beats per minute. Alright, here we go!

Rhythm 1
All right let's do it again, but this time let’s focus on technique. We want to push the record forward on beat one, pull back on beat two, push forward on beat three, pull back on beat four, and then repeat the same sequence for one more measure. Let’s count it off. Here we go!

Rhythm 2
If you are new to this, it may take some time to get used to opening and closing the fader while moving the record back and forth. With time and practice, it will work itself out. Let’s keep things moving and step things up a bit. We are going to add quarter rests on beats two and four. Here we go!

Rhythm 2
Let's play the rhythm again. But this time we are going to try to focus on getting the sound as clean and even as possible. We want to get a nice even and consistent sound, while trying not to rush the beat. Here we go!

Rhythm 3
Let's play another example. Now this time let’s try to play at a steady and even tempo. If your playing isn’t steady and even, slow down the music; and if this is too easy for you, go ahead and increase the BPM. Alright, here we go!

Rhythm 4
Now that you have got the hang of it let’s move on to the last rhythm. Remember that we want to play even strokes that are clean and on beat; we don’t want to rush. We want our strokes to be right on time.

We hope that you enjoyed this video. Make sure that you practice with both hands until you get the hang of it. If you liked the video, be sure to share it with anyone who might find the information helpful. If you have any comments, please leave them below. Thanks for watching! Peace!


